In set one we looked at the very basics of the guitar and also started to play some single note melodies and scales. In set 2 we will take a look at your first chords and how to play them. Quite simply, chords are a combination of notes that when added together give you a certain sound or ‘flavour’.
The first chords that we will look at are basic major and minor chords. Taking the 1st, 3rd and 5th note from a major or minor scale and playing them all together create these chords. Some notes will be repeated in order to give you a shape that you can play across more than just three strings. But essentially, when playing a major/minor chord, you’re only playing a stack of just three notes.

(Don’t worry too much about the construction of chords yet; we will take a closer look at that later on)
When learning chords it will be likely that you will learn from a chord diagram like the one below. Try and think of these as pictures or diagrams of the neck.
The vertical lines represent the strings and the horizontal lines represent the frets.
Above each string there is either an ‘x’ or an ‘o’. Where there is an ‘o’ above a string, play the sting open, and when you see an ‘x’ above the string, mute and avoid playing that particular string. Avoiding the correct strings is very important to the sound of a chord. If you happen to play a string you shouldn’t be playing the chord will end up sounding wrong.
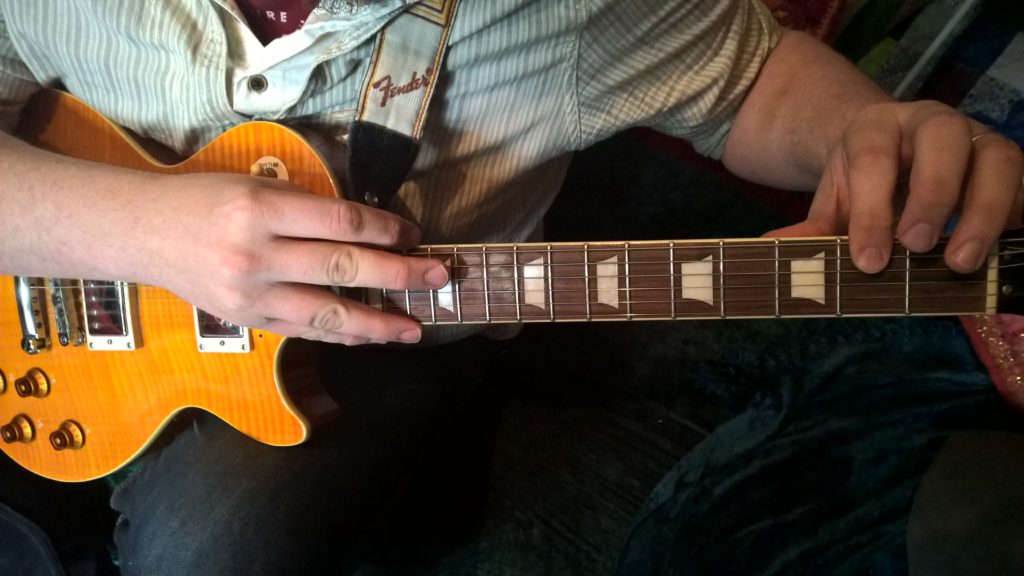
To play the chords accurately, will take time and practice but keep persisting and you’ll soon end up with nice clear sounding chords. Take a close look at the diagram below and compare it to the picture of the neck on the right:
 To make life easy for you, whenever there is a chord diagram showing you a new chord, next to it you will find a photo of the same chord being played. However, once you get used to reading the chord charts, you will find yourself being able to recognise the shape almost immediately.
As an example, take a look at these simple versions of C major and G major. Unlike the blank diagram, you can now see red circles with numbers in, instructing you on where to place your fingers. Each circle represents a finger and the number tells you which finger to use.
Again, as with the scales in the lessons before, make sure your thumb is sitting in the middle of the neck, behind the 1st finger, or indeed where you think the 1st finger would be if you don’t need it for a particular chord. Remember to add a steady pressure from the thumb, as with the fingers, but make sure it is free to move when needed as when playing chords your left hand will find itself moving around quite a bit.
Take care to strum only the correct strings. Listen to the audio clips to check you are playing the chord correctly. If you have trouble reading the diagram, read the instructions below the chord and try and piece things together with the diagram.
For this simple C major chord, place your 1st finger on the 1st fret of the 2nd string. Strum from the 3rd string to the 1st string only:
 For this G major chord, place your 3rd finger on the 3rd fret of the 1st string. Strum once again from the 3rd string to the 1st string only:
 Only move onto the next lesson once you’re confident you can read a chord chart.